


Good Hair Day Pillow Set Tutorial
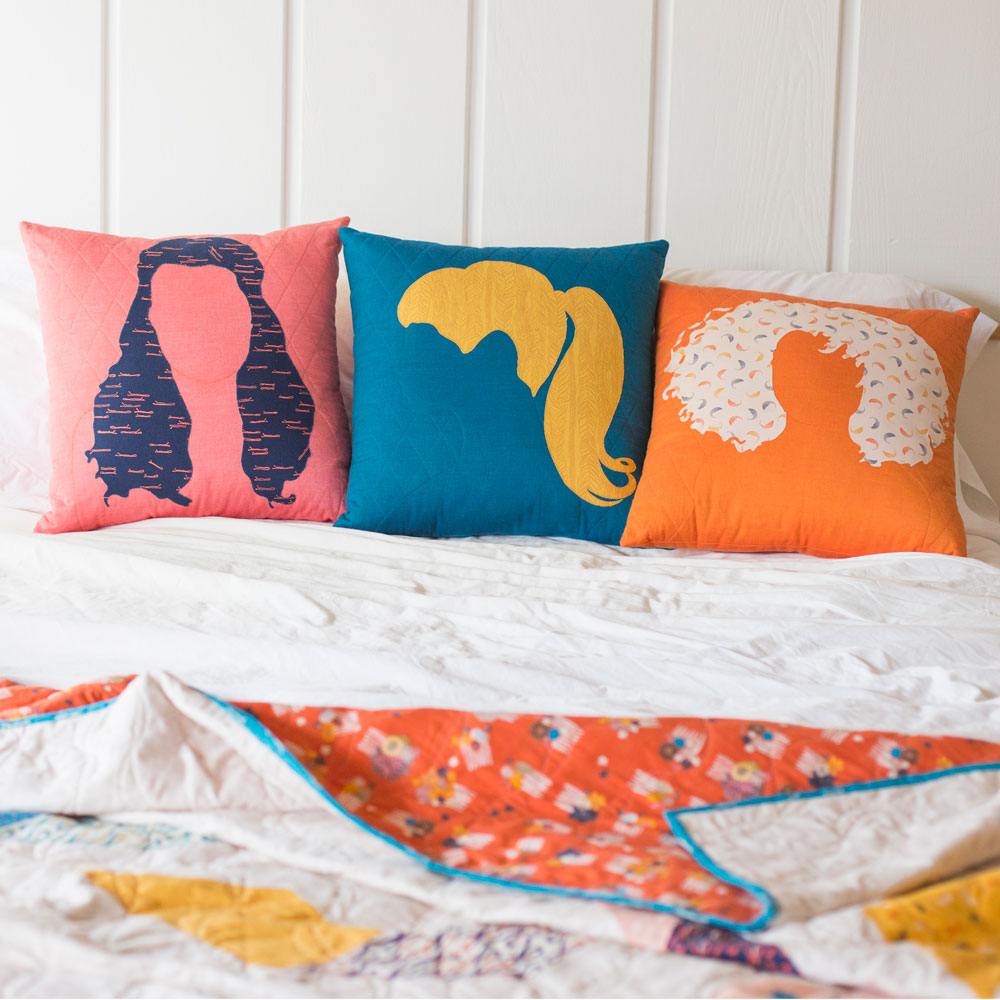
Good Hair Day Pillow Set
Look at the lovely Good Hair Day Pillow Set!
These were fun to design, I spent many hours testing different hair designs before finding the 3 that worked the best on these pillows. These have been very popular and I got many squeals when people saw them at Houston Quilt Market.
The Pillow front is made with appliqué and quilted lines. The back of the pillow can be finished with your preferred pillow finish technique.
I’ve written up a tutorial for these pillows and I can’t wait to see you make them too. It’s so much fun to see your projects made with Good Hair Day!
Materials:
- Fabric for the appliqué – Good Hair Day. For an 18″ pillow like I created, you will need a FQ of fabric for each silhouette.
- Fabric for the background (front and back) of the pillow – Windham Artisan cross weave cotton. I used an 19 x 19 inch piece for the front and two pieces measuring 19 x 10 and 19 x 14 inches for the back of the pillow.
- Fabric for the inside of the quilted front pillow piece (slightly larger than the front pillow fabric).
- Piece of batting that is slightly larger than the pillow front fabric.
- Double-sided Lightweight Fusible Web – I used Pellon’s 805 Wonder Under.
- Thread to match your appliqué fabric and background pillow fabric.
- Fabric and paper scissors.
- Pen.
- Removable Fabric Marker.
- Zipper if using one.
The fabrics I used in my pillows are as follows:
Let Your Hair Down Pillow
- Appliqué – Good Hair Day 41243-2 Night
- Background – Windham Artisan Cotton 40171-13 Red White
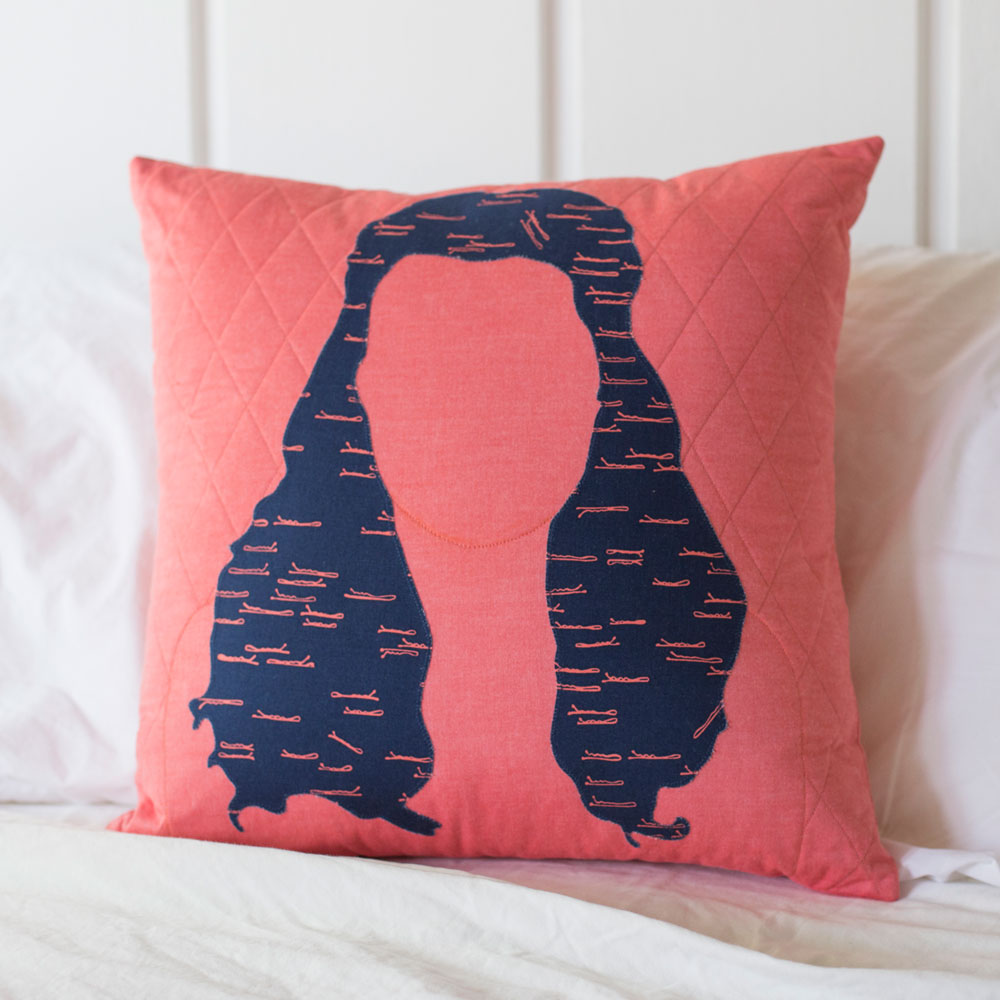
Let Your Hair Down pillow. Photo by Danielle Collins
Pony Tail Pillow
- Appliqué – Good Hair Day 41242-5 Caramel
- Background – Windham Artisan Cotton 40171-35 Aqua Blue

Pony Tail Pillow. Photo by Danielle Collins
Lots of Curls Pillow
- Appliqué – Good Hair Day 41246-17 Cream
- Background – Windham Artisan Cotton 40171-7 Red Yellow

Lots of Curls pillow. Photo by Danielle Collins
Making the Pillow Front
I used a Fusible Web appliqué for my Good Hair Day pillows and finished them with a zig zag stitch on my sewing machine. Feel free to use other stitches to finish your appliqué edge or even hand finish them with an embroidery thread. It’s your pillow, go for it! :)
The Pony Tail and Let your Hair down designs are the easiest to start with. The Lots of Curls design is a little trickier and needs a bit more patience to cut and appliqué around all those curls.
1. Download the PDF for the appliqué template.
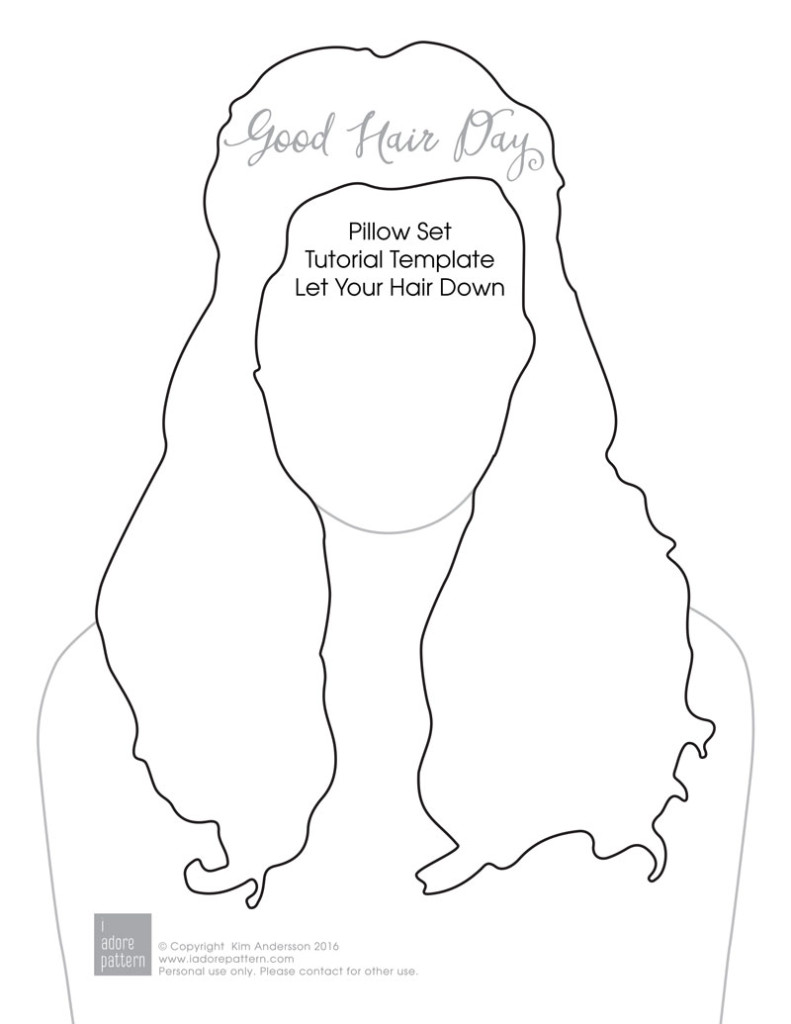
Download: Let Your Hair Down Template
![]()
Download: Pony Tail Template
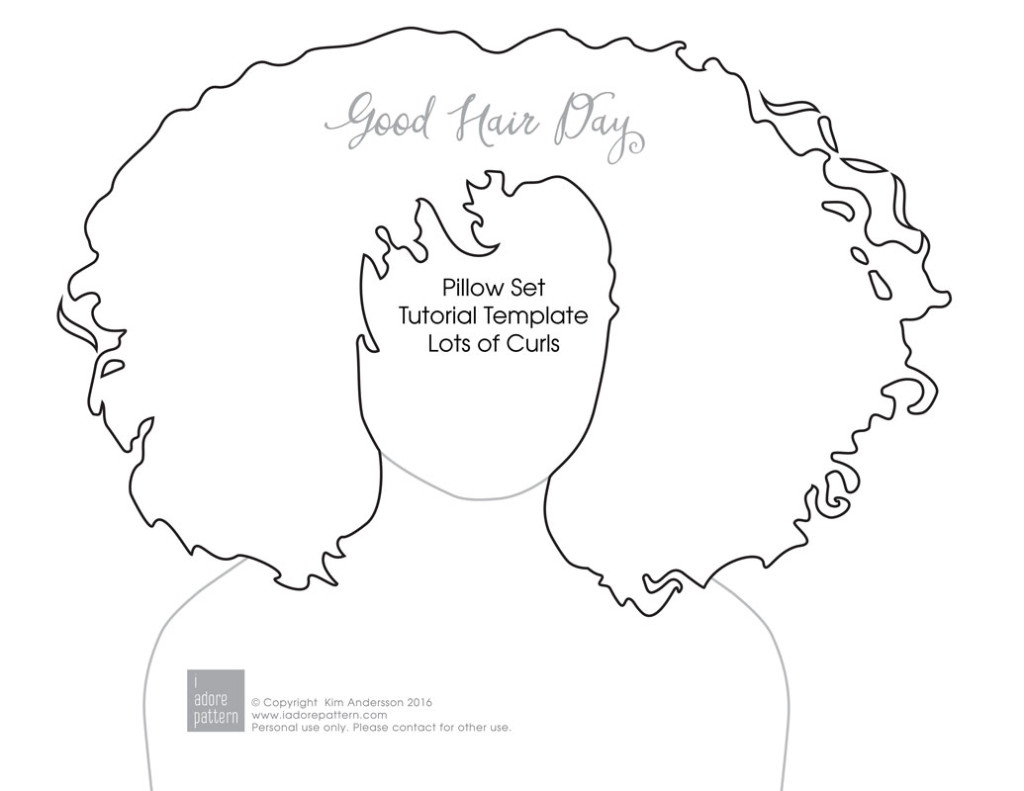
Download: Lots of Curls Template
2. Print out the PDF of the silhouette to the size you need. This template is reversed already for the appliqué to be traced from. I chose to make a finished size of 18 inches for my pillows, but a collection of larger and smaller pillows would be fun.
For the Let Your Hair Down design on an 18 inch pillow I left about 3.5 inches either side when placing the appliqué design on the front. If you enlarge the HairDown.pdf by 165% you will have the right size for an 18 inch pillow.
For the Pony Tail design on an 18 inch pillow I left about 3.5 inches either side when placing the appliqué design on the front. If you enlarge the PonyTail.pdf by 165% you will have the right size for an 18 inch pillow.
For the Lots of Curls design on an 18 inch pillow I left about 1.5 inches either side when placing the appliqué design on the front. If you enlarge the Curls.pdf by 165% you will have the right size for an 18 inch pillow.
3. Tape the pages together if needed.
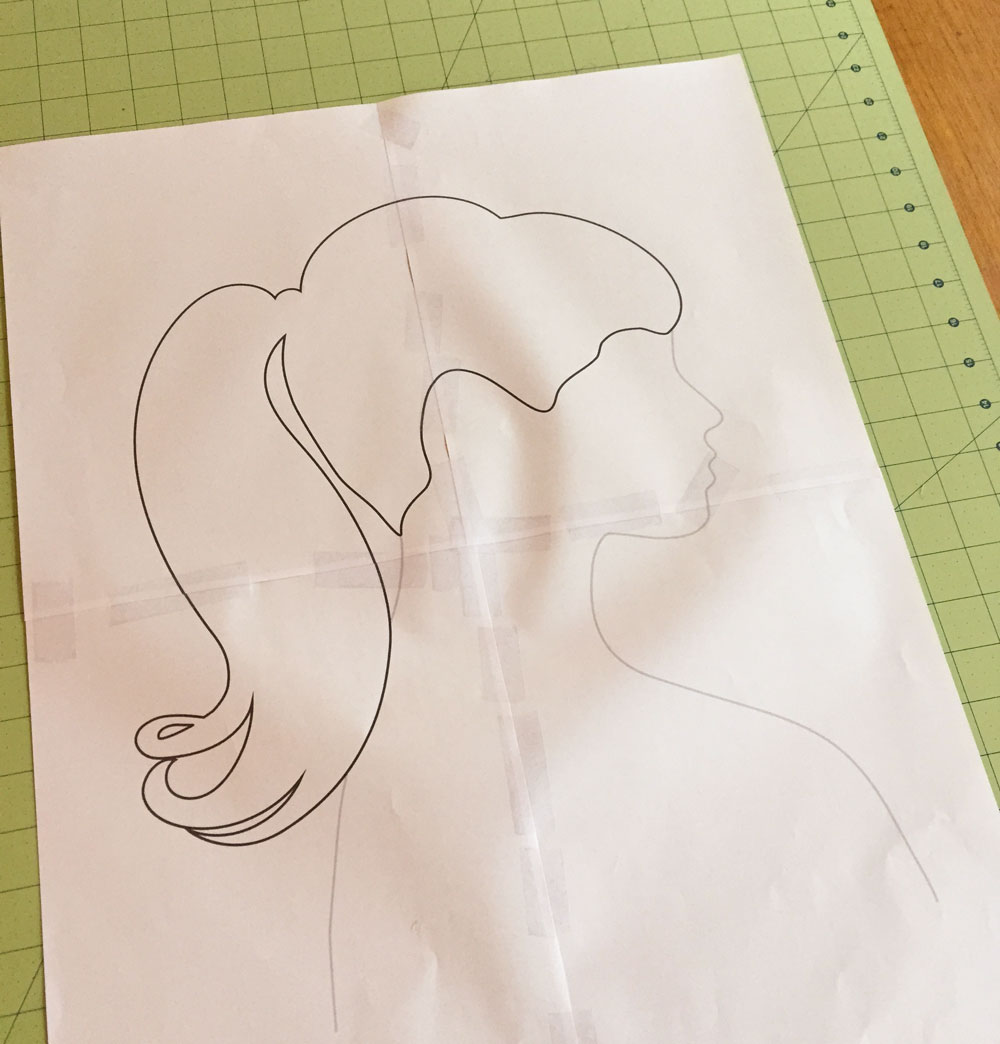
Pillow Template enlarged to size needed
4. Tape the Fusible to your printed out template and trace the template shape for the hairstyle (black outline) onto the paper side of the Fusible Web.

Trace the black line for the hairstyle shape.
5. Put the paper template aside (we’ll need that again later). Loosely cut out the traced template from the Fusible web.

Loosely cut the traced template from the Fusible web
6. Iron the Fusible web to the WRONG side of the appliqué fabric using the manufacturers directions.

Iron to the WRONG side of the appliqué fabric.
7. Cut the appliqué right on the traced line.
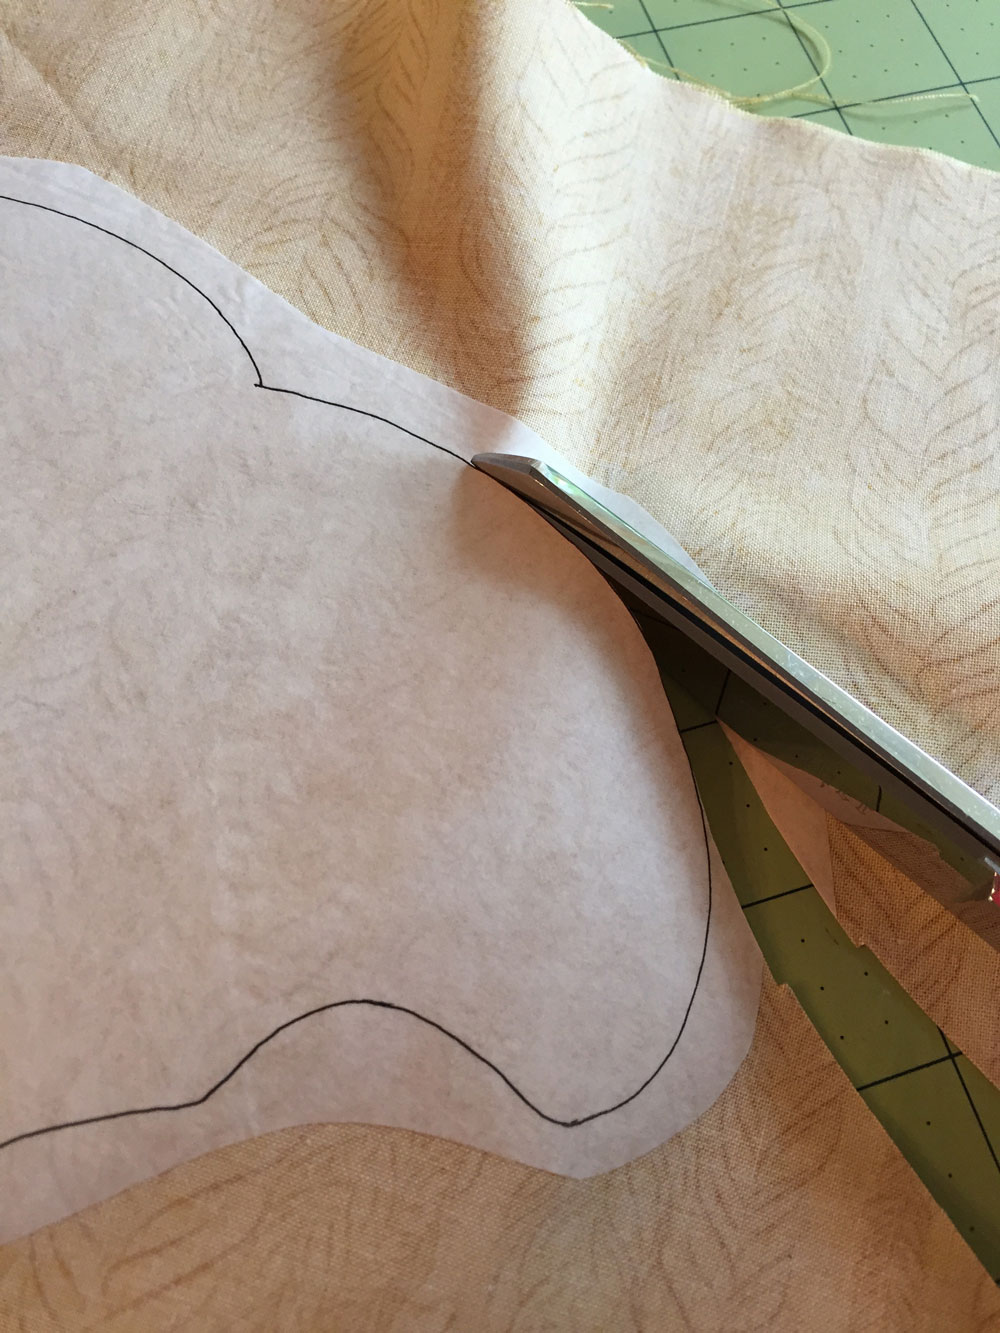
Cut the appliqué on the traced line
8. Remove paper backing and position it over the background fabric for the pillow front.
My pillow size is 18 inches so I cut a 19 x 19 inch square giving me a half inch seam allowance.
Press in place following the manufacturers instructions ( with the 805 Pellon this needs a damp press cloth ). I like to keep some space either side of the silhouette so that I see the full design once a pillow is inserted. Take into consideration that this space includes the seam allowance of half an inch.

Press onto background fabric.
It’s looking cute already!
9. Stitch along the appliqué by machine or hand. I used a thread color that matched my appliqué fabric.
If sewing by machine, make sure your zig zag (or other stitch) stitch is catching the appliqué on the inside of the stitch and the background fabric on the outside of the stitch. Be patience and stop and pivot with your needle down on the outside of the appliqué to move around the curves of the hair style shape. (Ignore the quilting on the background in this photo, I seemed to have missed getting a photo with just the zig zag on the appliqué).
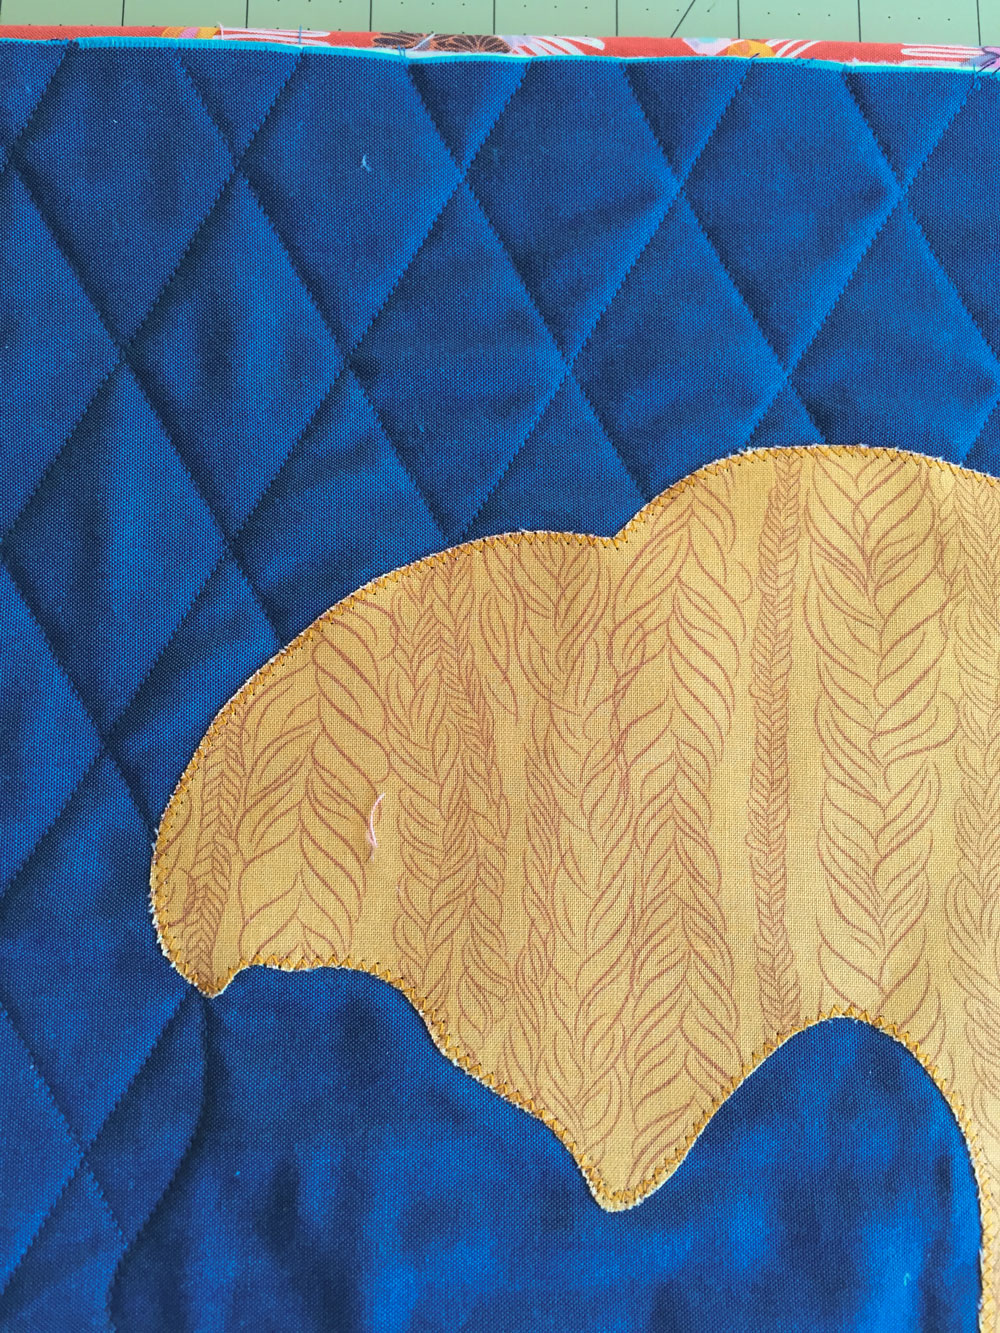
Stitch around the appliqué edges.
10. Now use your paper template to trace the quilting lines for the silhouette. I found this the easiest if I cut the silhouette shape out of the template, flip the template over and fit this in place under the hair appliqué.
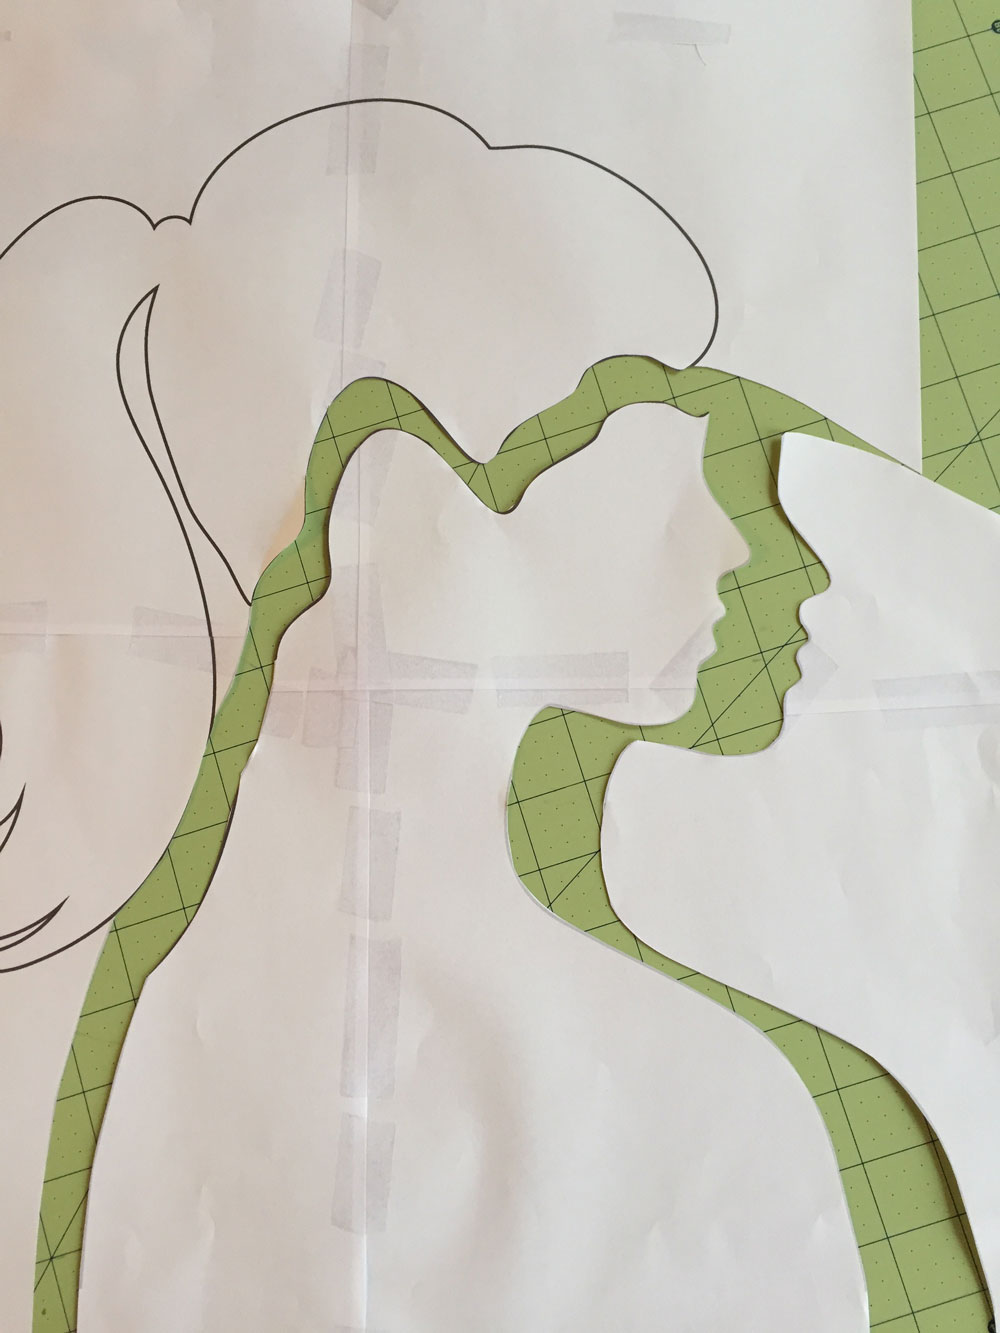
Cut the silhouette shape out of the template.

Flip and fit cut template in place under the hair appliqué
11. Trace these lines onto the pillow top with a removable fabric marker. You could do this step earlier to help you place your appliqué on the background as well.
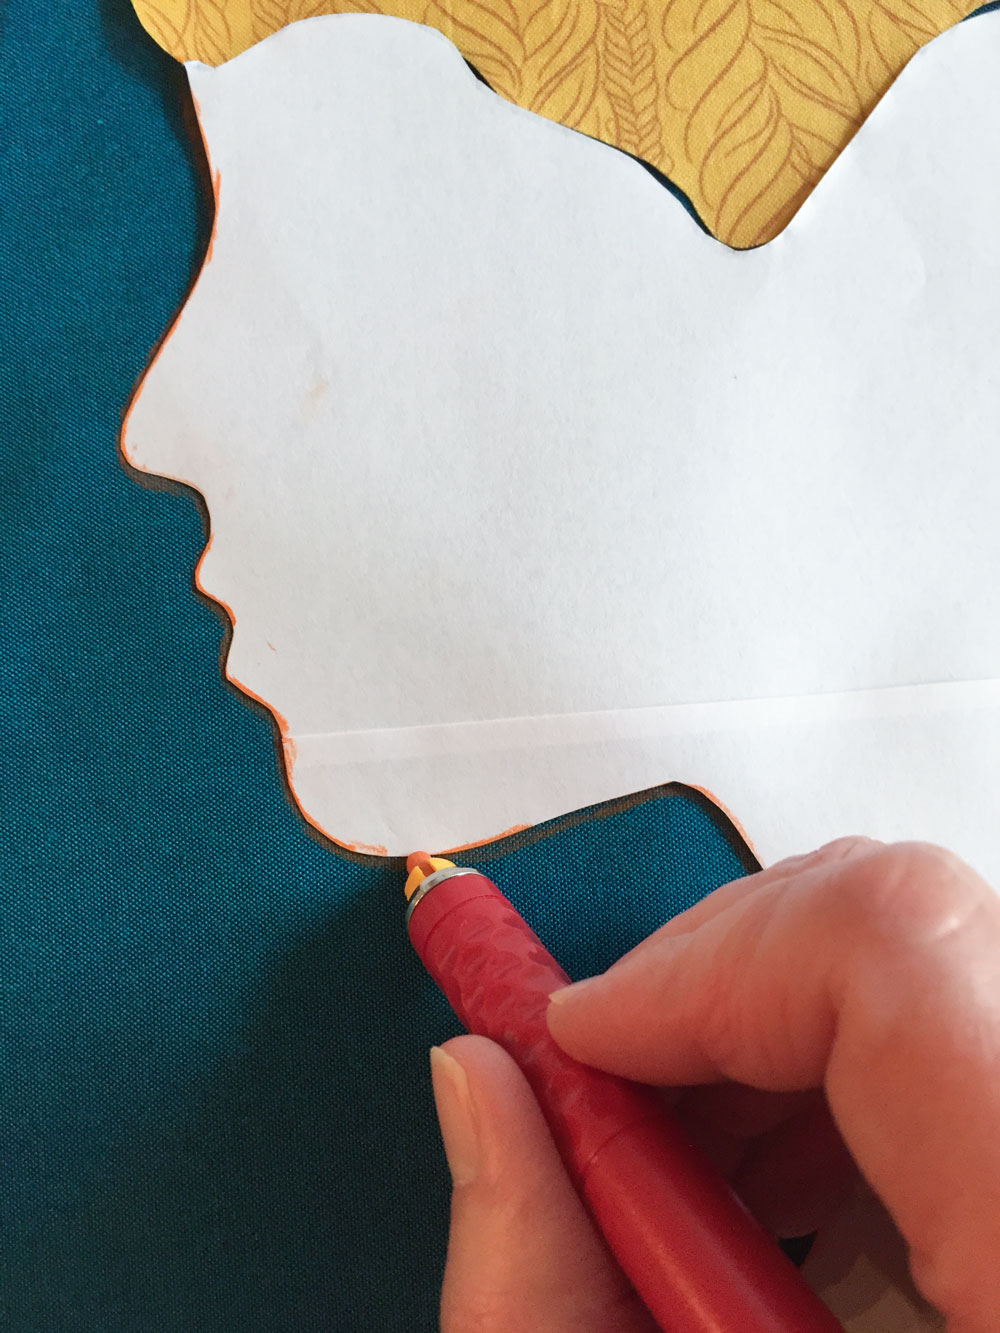
Trace profile lines onto the pillow top with a removable fabric marker
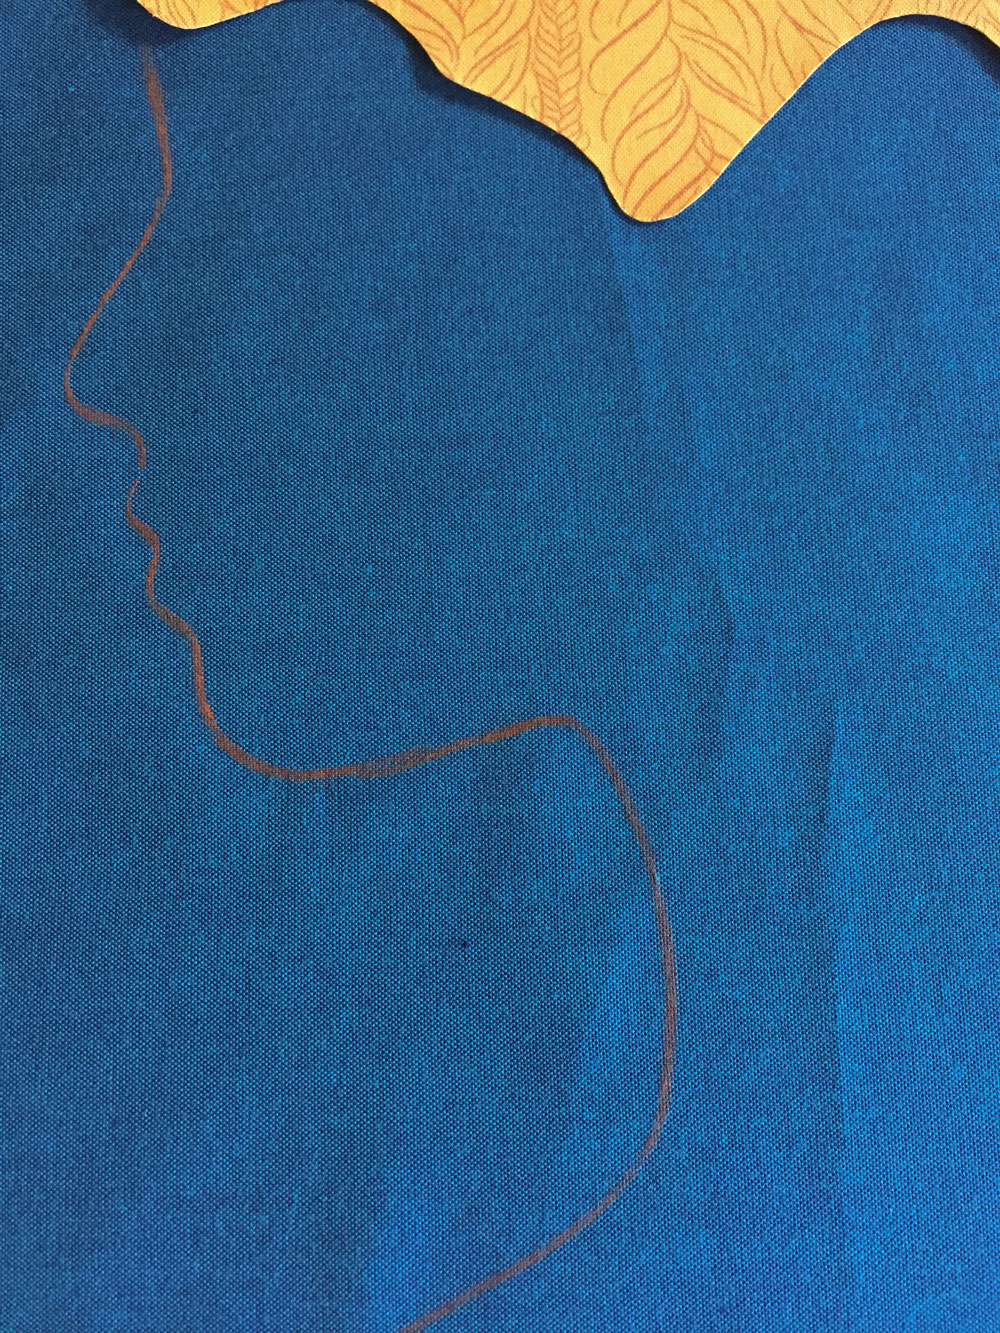
Profile traced line
12. Make a quilt sandwich with batting and another piece of fabric slightly larger than your pillow front. Bast together with your preferred basting technique. I chose to spray bast mine.
13. Use a straight stitch to quilt these silhouette lines. I used my regular foot, but some of the curves are tricky (I unpicked the Pony Tail face a couple of times) so a free motion foot may be better. Hand quilting would look great as well.
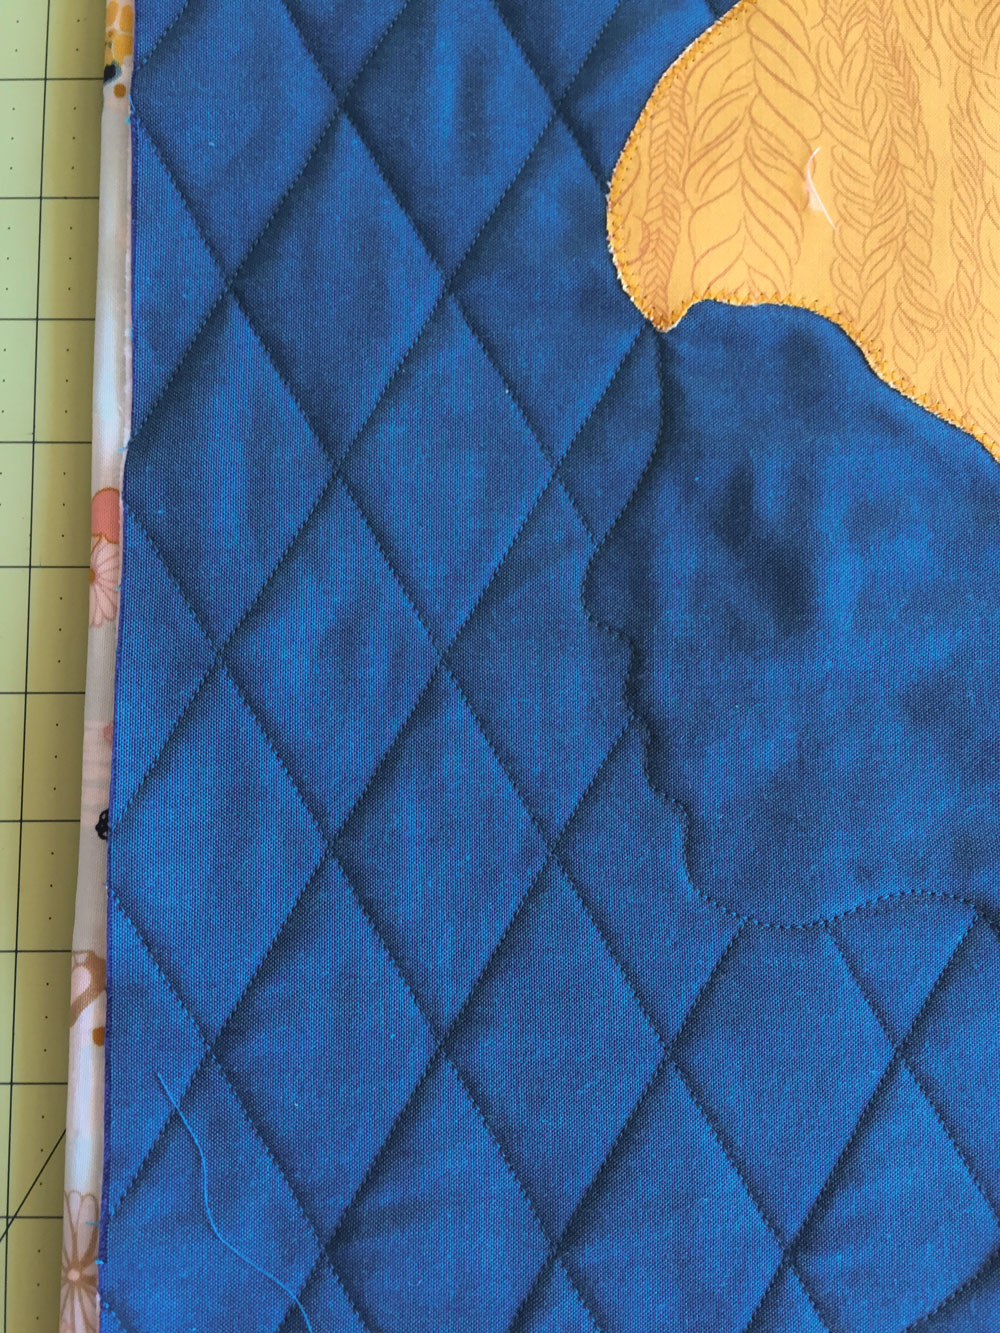
Profile stitching and background quilting.
14. Next quilt the background to help define the silhouette.
I chose to do a diamond pattern with the lines 1.5 inches apart. I used painters (blue) tape to mark and space the lines.
Front of the pillow is done!
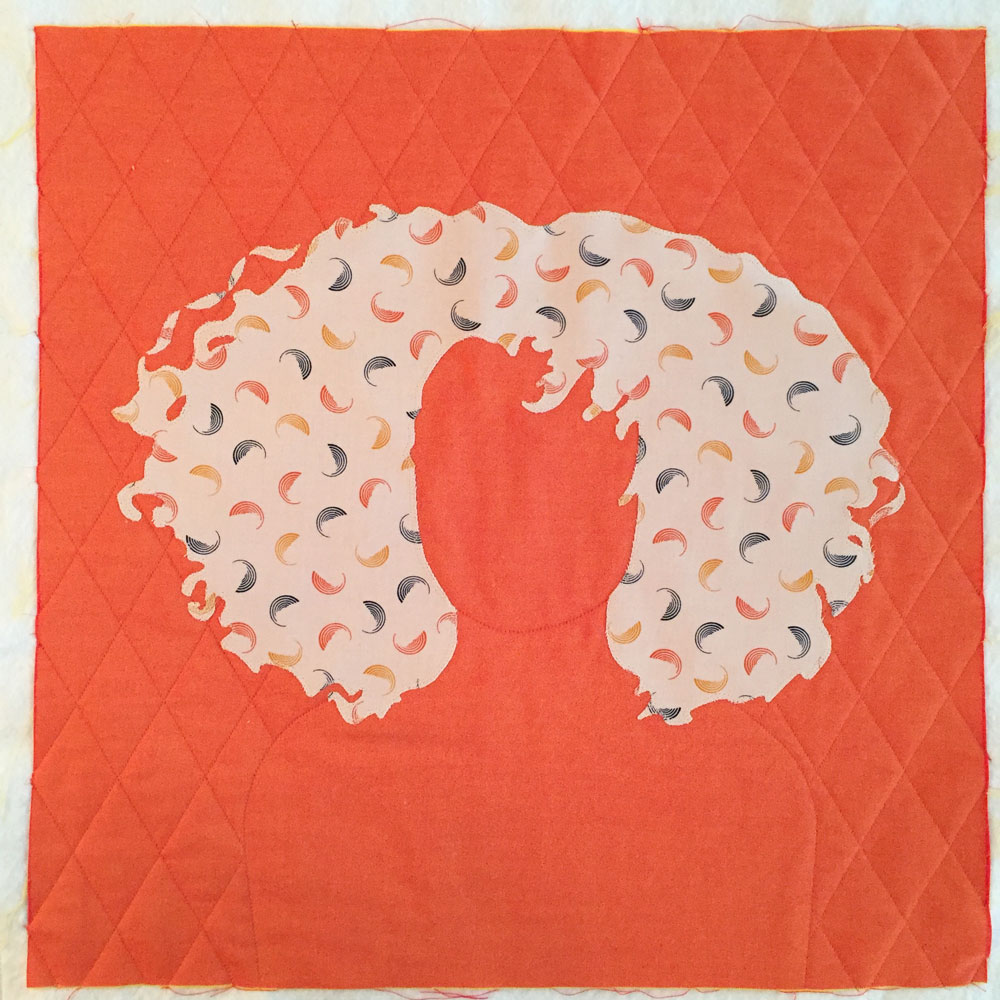
Pillow Front quilted
For for more tips on making appliqué projects I recommend Casey York’s book Modern Appliqué Illusions.
To finish the Pillow
There are many pillow finishing tutorials online and in quilting magazines and books.
My favorite finishes are an overlap closure or zip.
I wanted to put a zip with a placket on the back of mine. I hadn’t sewn in a zip for ages and found this tutorial from S.O.T.A.K Handmade for installing my zipper, I just adjusted my back rectangle sizes to fit an 18 inch pillow.
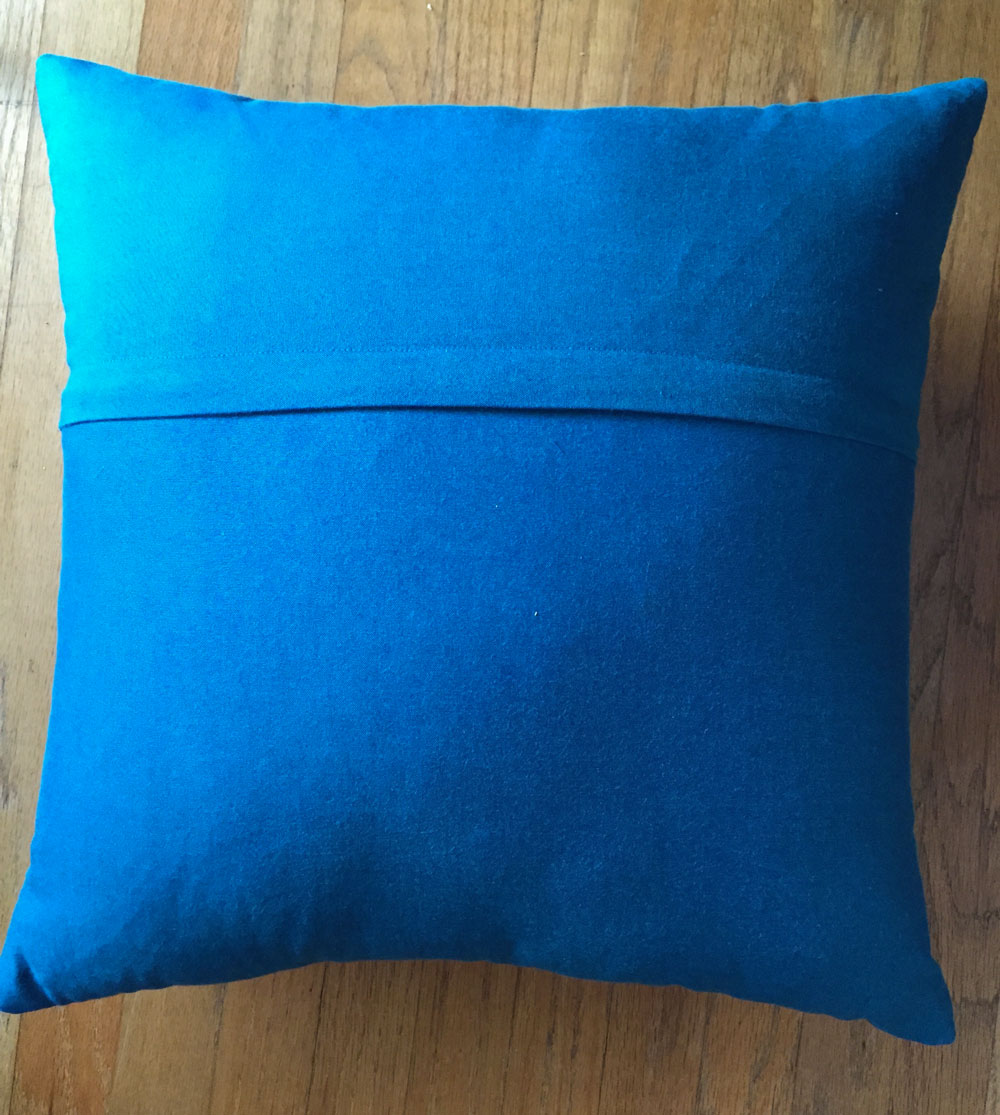
Back of the pillow with a zip placket
For the zip placket style on an 18 inch pillow I cut my background fabric pieces:
- 19 x 10 inches
- 19 x 14 inches
Then followed the tutorial on S.O.T.A.K Handmade.
Now how cute is your pillow!!?
The finished pillow !
Please please please share images of your pillows with me. I’d love to see them :)
#goodhairdayfabric
#goodhairdaypillows
Jan Hamilton
January 11, 2016 at 5:20 am //
Love the pillow designs and the fabric colours are so vibrant and fresh looking!
Barbara Bailey
January 12, 2016 at 2:44 am //
Beautiful colors on this bundle and I need to make it mine!! Love the hair patterns also and I have 2 grand daughters so thanks for those!!
Janie
January 13, 2016 at 12:34 am //
Thank you so much for the great tutorial and the templates. I am a retired hair dress and I love this fabric line the bobby-pins and the hair combs with the flowers got me.
Laura L.
January 13, 2016 at 3:55 am //
Such fun pillows and lovely quilt! Thank you for the tutorial…and the giveaway.
Chris
January 13, 2016 at 6:07 am //
These pillows are wonderful. My niece would like a set so I will save for her birthday in August.
Elizabeth Bolton
January 14, 2016 at 4:06 am //
My nieces and granddaughters will love these!! Thanks so much for the templates and the tutorial as well as the generous give-away!!
Silke
January 15, 2016 at 7:15 am //
The pillows are looking very nice!
Thanks a lot for the templates , the tutorial and the wonderful give-away!!
Teri
January 16, 2016 at 3:30 am //
Love your pillows and your fabric collection. Thanks for sharing.
Patty Flynn
January 19, 2016 at 4:08 pm //
Interesting. Beautiful colors
Laura
January 20, 2016 at 11:01 pm //
Thanks for the great tutorial.